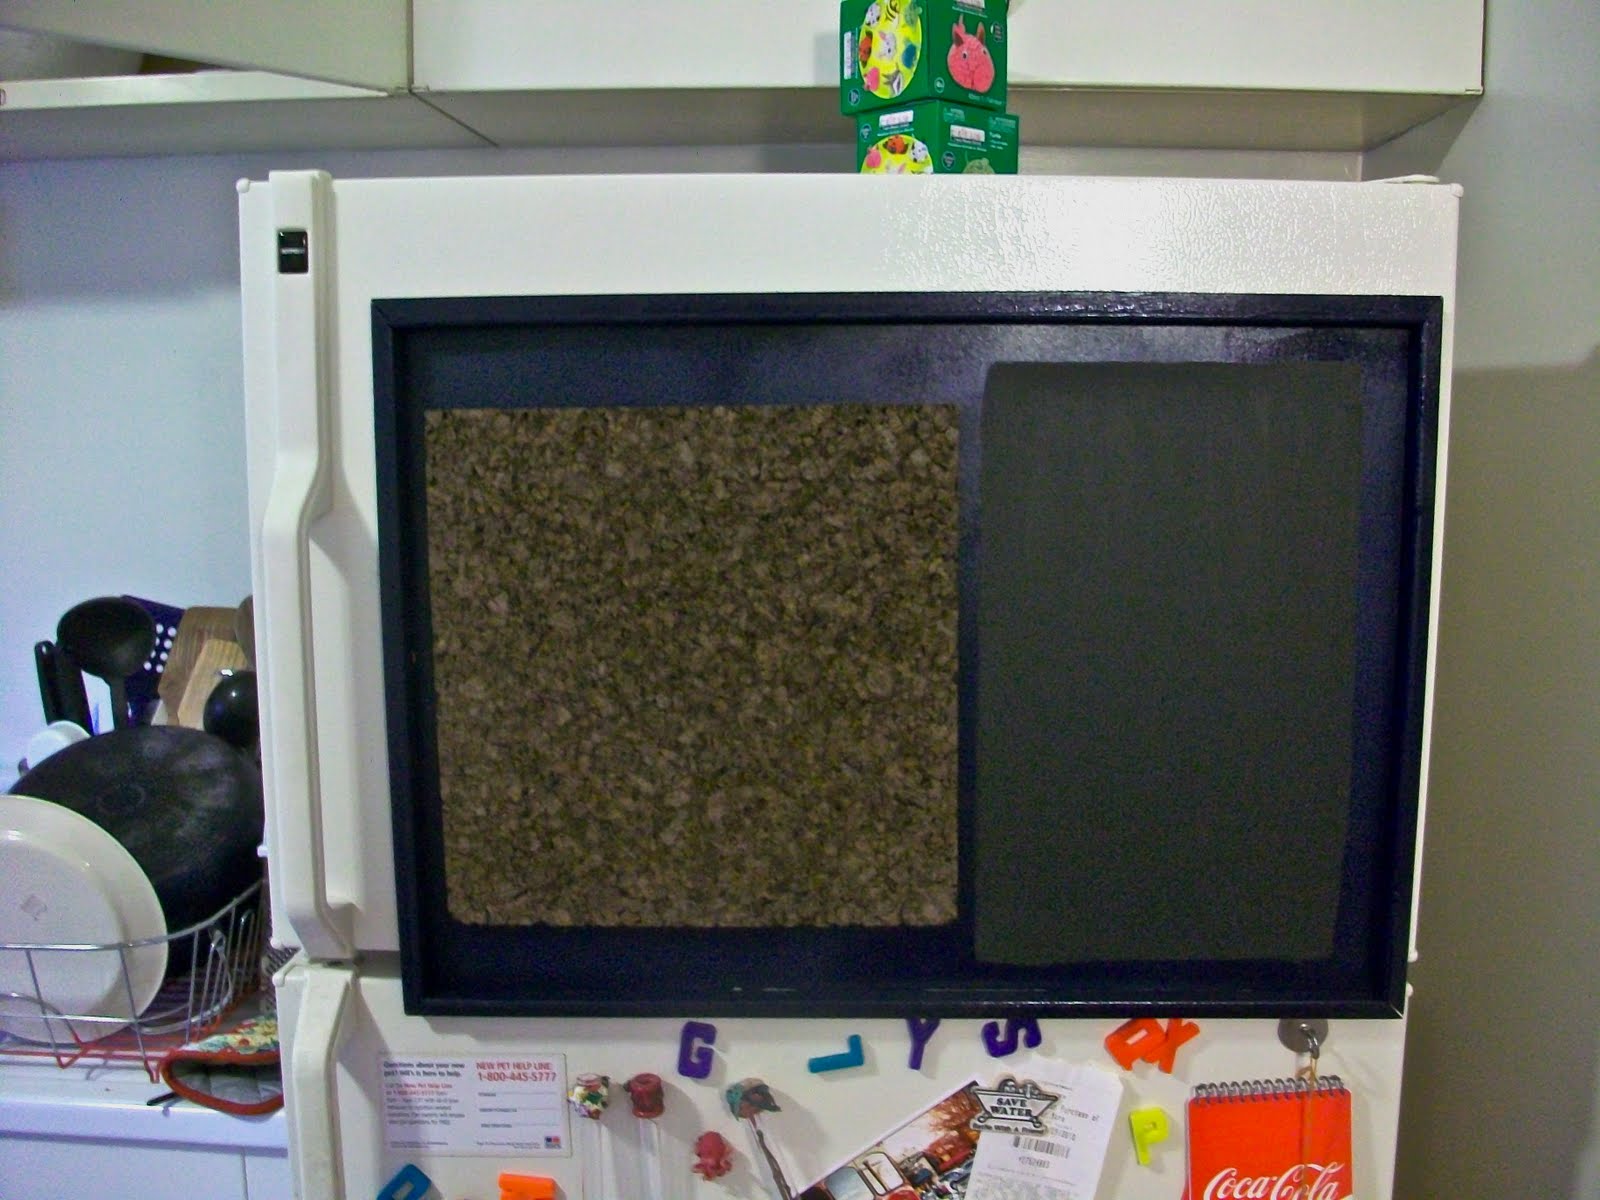
 I was really bored with the clutter on the front of my fridge, and instead of just cleaning it off, I decided I wanted to make something fun to organize it. I came up with a magnetic panel that fits on my freezer, that features a bulletin board to organize photos and chalkboard for shopping and to-do lists.
 My inspiration came while thrifting, and I found these ancient cork panels. The "self-stik" didn't work anymore, but they still seemed like I could put them to good use.

I found a 2' by 4' by 1/8" piece of hardboard panel at Menards for just a couple of bucks. I fully intended to keep my receipt to share on this tutorial, but of course... I lost it.

I cut a 24" by 17" section that would fit neatly on my freezer door. Yes, I improvised when it came to saw horses and clamps. I used tray tables and text books. A girls gotta do what a girls gotta do!

We've been wanting the ability to cut angles for a while, but can't afford power tools. We found this miter box and saw combo at Menards for under $10 and thought that was a great "made in China" deal.

I cut a strip of mahogany outside corner molding with the miter saw to make the trim. Angles made my head hurt, but I got it to fit together in the end. The trick was that I needed to re-cut each end of each piece, I couldn't use the prior cut and have the angle match up. See, it's even hard to write about angles!

I laid out my edges to make sure that they fit and lined up.

Then I tried putting the cork board on to see how it would look. I taped regular paper on to mask where I wanted my chalkboard to go.

I took the board and molding strips outside and spray-painted them with Rustolium Navy Blue spray paint. My favorite part was then using the chalkboard paint that I found at Menards. This stuff is great! I can't wait to use it in all sorts of projects.

Once the paint dried, I glued the molding down to the hardboard.

Since the "self-stik" no longer stuck, I used E-6000 to glue the cork board to the hardboard.

I then glued super strong rare-earth magnets to the back.

Oops! 4 wasn't enough!!!
So I added 6 more.

It works great! It adds a bit of color to our bland kitchen, and is totally unique. It was really cheap too, everything was under $20, and that includes the saw!


hahaha "made in China" deal.
ReplyDeleteThat turned out really great! I'm glad you posted the tutorial. Something to keep in mind when I get my own apartment.