Thursday, May 26, 2011

Seminary Woods last Week

So I guess I just need to accept that I have about a week lag time between what I want to blog about, and actually getting the post together and putting it up here. Last Thursday Henry and I took some time to go and explore a great section of maple/beech woods near Lake Michigan just south of Milwaukee. Seminary Woods has some of the most incredible tracts of Showy Trillium and other spring ephemerals. It was a beautiful day, and the spring show was breathtaking. Thanks to Henry for his great photographs.


Here's Jack, hanging out in his Pulpit! (Arisaema triphyllum) Yay for native Arums!


Pollination in action on a Showy Trillium (Trillium grandiflorum)


My new species id for the year. I'm next to positive that this is Blue Cohosh (Caulophyllum thalictroides). 


Early meadow rue (Thalictrum dioicum) is a fun plant because each plant is either male or female. See the yellow pollen tipped stamens on this one? Its a boy!! 


I love how Jack in the Pulpits come out of the ground, they look so prehistoric.


See, I told you at the beginning of the post that the Trillium at this place was breathtaking. There were HUGE patches of solid Trillium. It was just a carpet of white. Incredible. 


My other new id for the year, I think this is wood anemone (Anemone nemorosa)


Daffodils in their native habitat? :D This one was funny because it was so in the middle of the woods. It must have been brought in by a bird or something?


Cross off another favorite that I needed to see in the woods this spring off my list. Wild Geranium (Geranium maculatum) looking just beautiful. 


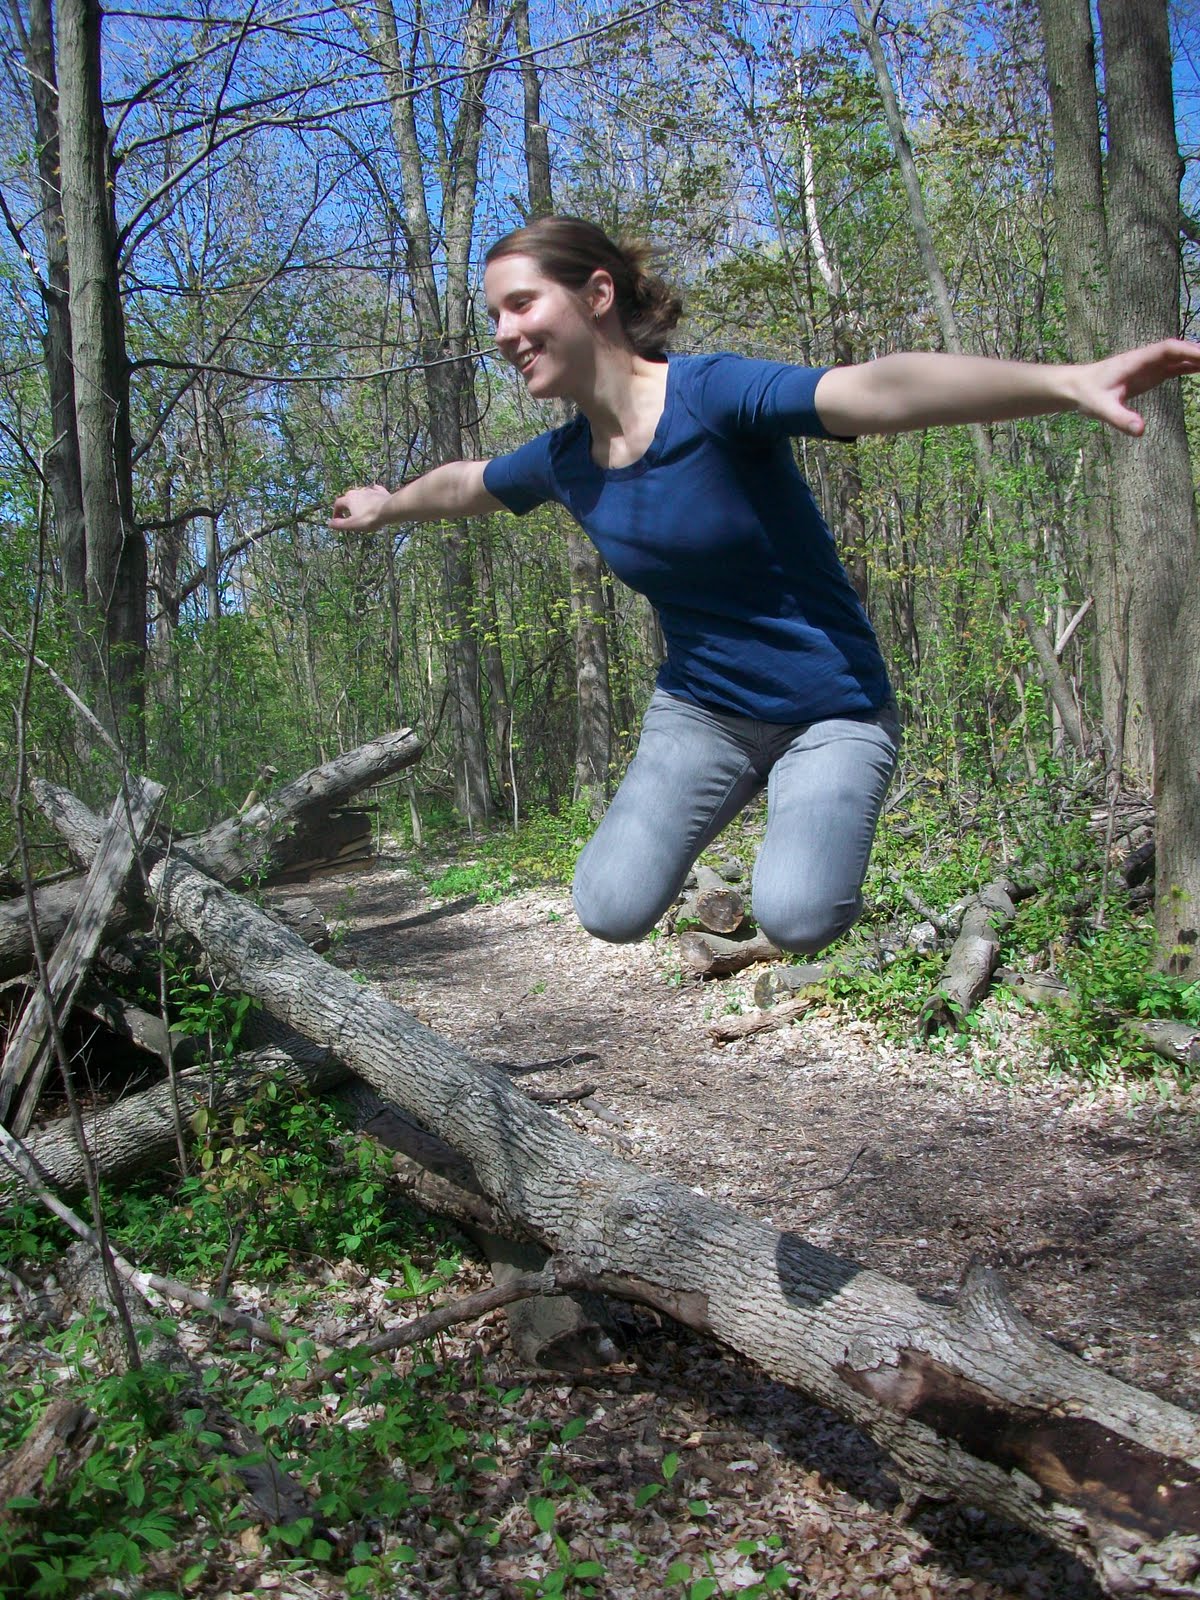
We found a springy log and our inner 5 year olds came out. Jumping off it and taking pictures of ourselves in the air entertained us for a good fifteen minutes. I kind of feel like I look like I have no legs in this picture though. 


Cross another one off the list, a fern glade! I didn't try to id the ferns though. Maybe I'll bring the field guide out later in summer. Id'ing ferns intimidates me. 


Wasn't expecting these, so I didn't even have them on my list, but it was really fun to see them growing in the wild, False Lily of the Valley (Maianthemum canadense)


Thursday, May 19, 2011

Entry Butler

After I made the magnet board for the fridge, I had hardboard left over, and I was still super excited to use the chalkboard paint. I had seen this entry butler at BN and was tempted to get it in attempt to organize our mail. Then I looked closer at it and realized I could make a version myself, for a whole lot less (or no) cash!

Chalk Board Entry Butler Tutorial

Step 1: Cut two rectangles of hardboard to fit your space (mine were 12" by 7"), two 7" lengths of 1/2" square lumber, and a 7" piece of 1/2" outside-angle molding. 

Step 2: Wood glue the molding to the bottom of the front side of one of the pieces of hardboard (this will be the chalk tray), and one of the 1/2" square pieces to the top (we'll call this Assembly A). On the back side of the other piece of hardboard, glue the other 1/2" square piece to the bottom edge (we'll call this Assembly B). 


Step 3: Take outside and spray paint the front and sides of Assembly A and the back and sides of Assembly B. Sorry, I didn't get any pictures of this step! I used left over Rustolium Kona Brown to match the other wood in my living room.


Step 4: Apply chalkboard paint to the front of Assembly B. I didn't bother to prime it and but it just took 2 coats to get a nice finish. 


Step 5: Apple wood glue to the 1/2 square wood pieces and sandwich the boards together. The bottom of Assembly B should be about 2" from the bottom of Assembly A.


Yay done! Since its pretty light and I didn't want to deal with screw holes, I just used heave duty command strips to hang it on the wall, and it works great! Now we can leave notes by the door, and we can put the mail up so Sheldon will hopefully leave it alone (the stinker loves to shred papers we leave on the little shelves by the door). I didn't have to buy anything special for this project, it was all leftovers hanging around the apartment! Hooray for DIY. 


Wednesday, May 18, 2011

A new look for my freezer

I was really bored with the clutter on the front of my fridge, and instead of just cleaning it off, I decided I wanted to make something fun to organize it. I  came up with a magnetic panel that fits on my freezer, that features a bulletin board to organize photos and chalkboard for shopping and to-do lists. 
My inspiration came while thrifting, and I found these ancient cork panels. The "self-stik" didn't work anymore, but they still seemed like I could put them to good use. 


I found a 2' by 4' by 1/8" piece of hardboard panel at Menards for just a couple of bucks. I fully intended to keep my receipt to share on this tutorial, but of course... I lost it. 


I cut a 24" by 17" section that would fit neatly on my freezer door. Yes, I improvised when it came to saw horses and clamps. I used tray tables and text books. A girls gotta do what a girls gotta do!


We've been wanting the ability to cut angles for a while, but can't afford power tools. We found this miter box and saw combo at Menards for under $10 and thought that was a great "made in China" deal.


I cut a strip of mahogany outside corner molding with the miter saw to make the trim. Angles made my head hurt, but I got it to fit together in the end. The trick was that I needed to re-cut each end of each piece, I couldn't use the prior cut and have the angle match up. See, it's even hard to write about angles! 


I laid out my edges to make sure that they fit and lined up. 


Then I tried putting the cork board on to see how it would look. I taped regular paper on to mask where I wanted my chalkboard to go. 


I took the board and molding strips outside and spray-painted them with Rustolium Navy Blue spray paint. My favorite part was then using the chalkboard paint that I found at Menards. This stuff is great! I can't wait to use it in all sorts of projects. 


Once the paint dried, I glued the molding down to the hardboard. 


Since the "self-stik" no longer stuck, I used E-6000 to glue the cork board to the hardboard. 


I then glued super strong rare-earth magnets to the back. 


Oops! 4 wasn't enough!!!


So I added 6 more. 


It works great! It adds a bit of color to our bland kitchen, and is totally unique. It was really cheap too, everything was under $20, and that includes the saw!


Tuesday, May 17, 2011

Grey and Cream Pendant Series

I used shades of gray and translucent to make the marble like backgrounds for this series of pendants, and added simple creamy applique floral designs on top. Which one is your favorite? 


Monday, May 16, 2011

Trout Lilies


As you could probably tell by the last post, I'm pretty in love with the trout lilies right now. The woods are carpeted with them, and they are so cheerful. I had to try to make my own! What do you think?


Related Posts Plugin for WordPress, Blogger...